Friends, I am happy to introduce you to my number one favorite sourdough loaf of ALL TIME. It checks all the boxes. It’s 100% whole grain. It’s sourdough. And the recipe uses all rye flour, which adds a nutty taste and lowers the gluten content. Even the prunes and sunflower seeds pack extra fiber and nutrients. But my personal favorite part? It’s NO KNEAD!
“Discovering” bread
I woke up the day after I arrived in Vienna with no food in the house. Stomach gurgling, I walked to one of the local bakeries.
There were SO MANY different breads! Long ones, fat ones, short ones, skinny ones. So after ordering what seemed like the smallest espresso drink in the world, I pointed randomly to one of the breads:”dinkelbrot,” a sourdough of spelt and rye. Not only was this bread delicious, it was hearty. Eaten for breakfast, it kept me full even after a long morning of dancing. “What have I been calling bread all this time?” I wondered, thinking of the soft, sandwich slices so plentiful in the United States: “toast,” they called it in Vienna. I couldn’t go back.
Of course, the moist pumpernickel bread available in U.S. grocery stores was insanely expensive–you know what I mean, the kind that sells for roughly a dollar a slice. My healthy habit was pricey! Thankfully, the DIY version is not.
Some background on rubgrød
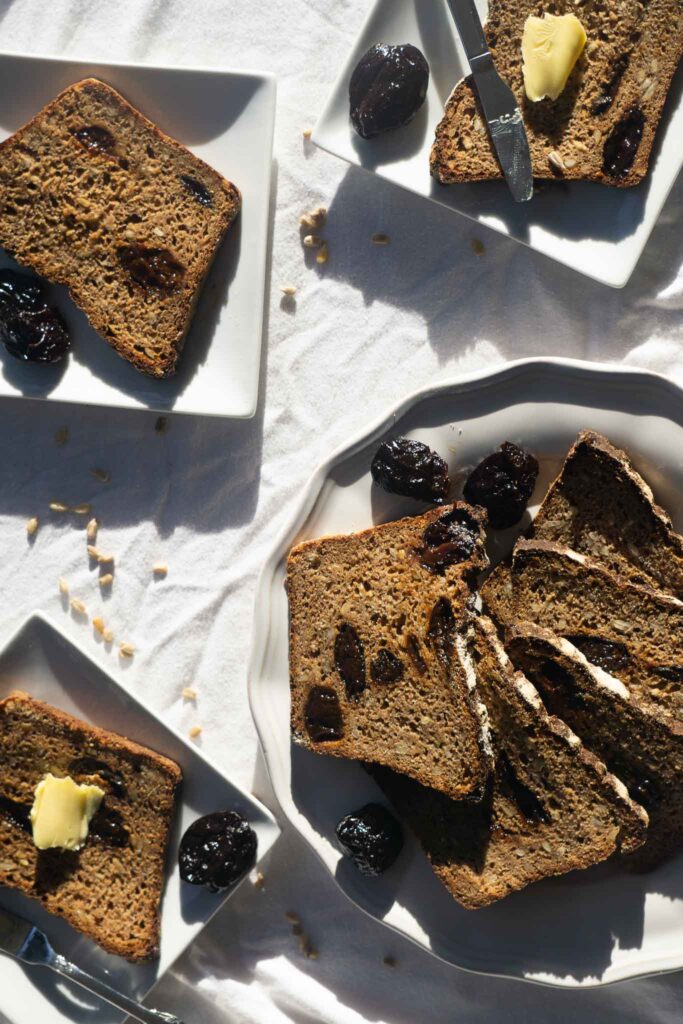
So, no, this isn’t dinkelbrot. It’s different, but I believe it’s just as good. Rugbrød is the Danish name for this sourdough dark rye loaf. It’s often used to make open-faced sandwiches, called smørrebrød. You can find mouth-watering pictures of smørrebrød on the two websites that I used to derive this recipe, Louise’s Nordic Kitchen Stories and Sune’s Foodgeek. The ex-Californian that I am, I’d be interested in using this bread for avocado toast or making a vegan smørrebrød with the Buddhist Chef’s seitan.
Or (crazy idea) how about trying it with herb garden and avocado hummus? 😏
Tips for delicious, foolproof rye bread
Start with a ripe starter
Have you also tried to make whole wheat bread and ended up with hard tack? Ok good, it’s not just me!
After trial and, let’s be honest, a lot of error, I found a method for my starter that consistently produces good results. Here’s what helped:
- Especially with 100% rye bread, use all rye flour for your starter. Like any whole grain flour, it contains more naturally occurring microbes than the white variety.
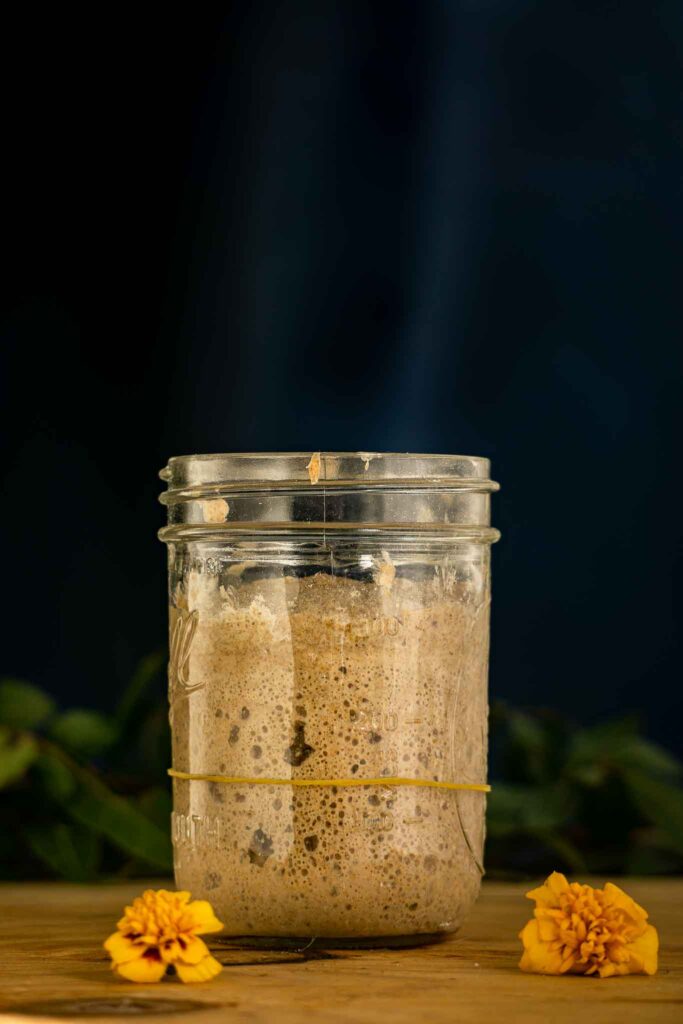
- Always weigh your ingredients. I use a 100% hydration starter, meaning I use quantities of flour and water that are equal in weight. That’s what allows my starter, pictured above, to create all those beautiful bubbles. A kitchen scale will also minimize sticky utensils. (And they will get VERY sticky!)
- To reestablish your starter, feed it twice a day. This means discarding all but one tablespoon of your starter and adding 50g water and 50g flour.
- Use your starter to make bread only after it doubles in size in roughly four hours. This will ensure that your bread rises before you bake it. After it’s removed from the fridge, my starter usually takes two feedings to regain its glory, but I feed mine three times anyway.
- To tell how much your starter has risen, mark its original height with a rubber band for easy comparison.
- Don’t be discouraged if your starter isn’t active in such a short amount of time! You could always make delicious crumpets with your discard. Besides, a disappointing starter is WAY better than a disappointing loaf of bread.
Oil your loaf pan
Like a quick bread, this is one sticky dough, so you’re gonna want to oil and flour your loaf pan. Make sure you add oil all the way over the top of the pan, too, since these loaves tend to get tall. You won’t want anything to stick to the edges here.
Also important: cut some parchment to fit in the bottom of your loaf pan for easy removal!
Use a thermometer to tell when it’s done
This loaf is not as easily checked for doneness as other loaves since you can’t do the tap-on-the-bottom trick. That said, using a thermometer is SUPER easy. As long as the middle bottom of your bread reaches 208 degrees Fahrenheit, you’re good. Any more and your loaf may dry out. Any less, and your loaf might be mushy and un-sliceable in the middle…which brings me to…
Don’t slice your rye bread on day one
Smelling tasty aromas wafting from the kitchen, my dad contended that “bakeries always sell their bread same-day. If we wait to eat it until tomorrow it’ll get stale!”
Nice try.
Trust me, since I learned this the hard way: if you cut it on the same day that you make it, your crust will be impenetrable, the center moister than the edges, and your slices too thick.
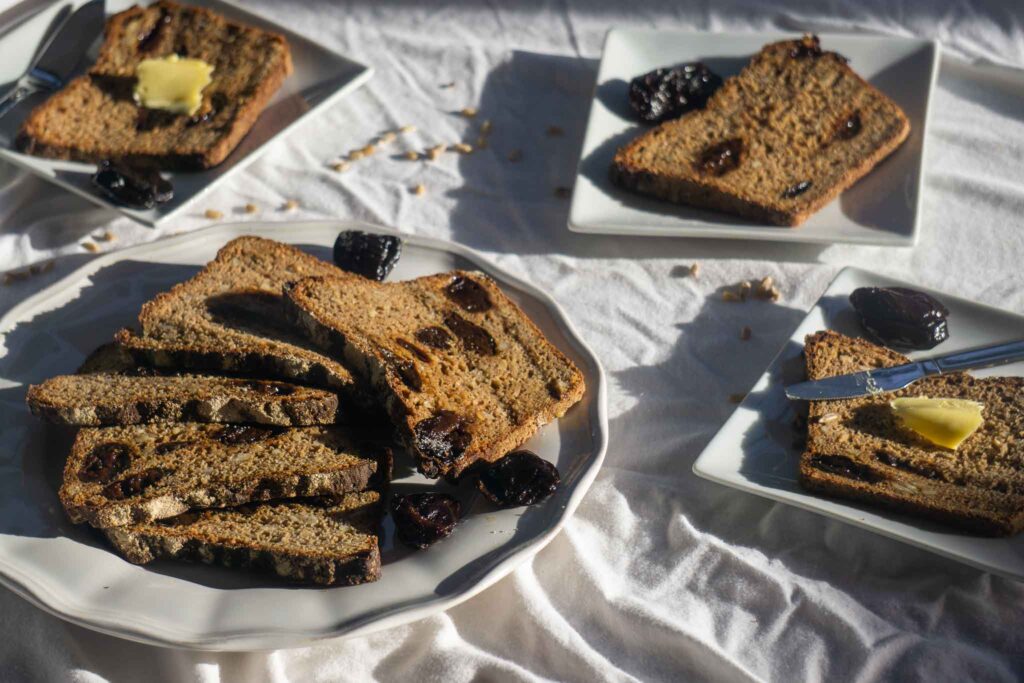
On the other hand, just wrap this loaf in a plastic bag after it’s cooled, take it out 24 hours later, and then slice as thinly as you like.
Freeze your bread
Unless you’re having a pumpernickel party, I’d suggest storing this bread in the freezer where it will stay fresh. To use it, just pop it in the toaster and it will come out defrosted, slightly warm, and ready to eat.
I hope you enjoy this bread as much as I did!
Print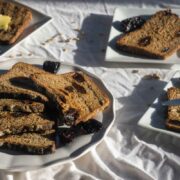
100% Whole Grain Sourdough Rye Bread (Rugbrød)
- Prep Time: 2 days
- Cook Time: 40-70 minutes
- Total Time: 2 days
- Yield: 1 large loaf 1x
- Diet: Vegan
Description
A hearty sourdough, made with 100% dark rye and filled with sunflower seeds and prunes.
Ingredients
For the levain
- 125g ripe rye starter (100% hydration)*
- 230g dark rye flour
- 290g cold water
For the seeds
- 125g sunflower seeds
- boiling water
For the loaf
- all the levain
- the soaked seeds
- 330g dark rye flour
- 12g salt
- 2 tablespoons molasses
- 220g room temperature water
- 330g pitted prunes
Instructions
The night before:
- In a large bowl, place all the ingredients for the levain and stir until combined.
- In a medium bowl, place the sunflower seeds and cover with boiling water to about ½ inch above the seeds.
The next morning:
- Cut parchment paper into a rectangle to fit in the bottom of a 10x5x3 ½ inch loaf pan (It could have different dimensions, but it must fit 2 liters, or 8.5 cups). Liberally oil and flour your pan, including top edges and the bottom parchment paper.
- Drain the soaked seeds and add to the levain, along with all the other ingredients under “for the loaf.”
- Mix until well combined. The batter should be wet and very sticky like the dough for a quick bread.
- Place the dough in the prepared loaf pan and smooth out the top. Dust with some rye flour.
- Let the dough rest until it rises just above the top of your pan. It should rise about ⅓ larger in size. The surface will crack, and you might see 5-10 pinholes on top of the loaf. This should take between 1 ½ and 3 hours.
- 30 minutes before you’re going to make it, preheat the oven to 465 Fahrenheit.
- Put your bread in the oven and immediately turn the oven down to 450 Fahrenheit.
- Cook your bread between 40 and 70 minutes. You’ll know it’s done when it reaches an internal temperature of 208 Fahrenheit. If you don’t have a thermometer, stick a skewer into the middle and all the way to the bottom. It’s done when the skewer comes out dry.
- Remove your bread from the pan right away. If you can’t remove it for some reason, don’t yank it out. Just let it cool a bit and then it should come out of the pan easily after running a knife around the edges.
- When your bread has cooled, place it in a plastic bag and let it sit for 24 hours before slicing.
- Enjoy as the base of an open-faced sandwich or by itself.
Notes
You starter is active if it doubles in size four hours after feeding.
After you slice your bread, store it in the freezer for maximum freshness. Defrost your slice in the toaster when needed.
Keywords: rye, bread, sourdough bread, low gluten, rye bread, rugbrod, avocado toast, pumpernickel, healthy food, vegan, vegetarian, plant based, prunes, sunflower seeds