In Riverview Florida, where we live, there are few local haunts, many big chain restaurants, and an abundance of farmland losing an arm wrestle with housing developers. But there is at least one notable gem within this battleground, and that is a place called Sticky Rice Sushi. In a shopping center next to a gym that recently closed, you’ll find a dimly lit sign saying “SUSHI,” and underneath that sign you’ll find affordable, edible works of art.
The vibe is on. My first visit, we sat at the bar, where the walls of modern restaurant culture came down and people started talking. On one side, my roommate swapped army stories with a Friday regular. On my other side was a passerby who Googled “best sushi in Riverview” and ended up chatting about med school all night with one of the owners. This place had its own lingo, too. The sushi chefs would wave at departing customers and say, “See you tomorrow,” and the customers would echo the same phrase right back. No one was really coming back tomorrow, but, oh, they’d be back again.
The “Picasso roll” topped with flame-charred jalapeños literally tasted like fire. Delicately arranged to look like a painting palette, it’s a pretty conceptual roll. This roll was second only to their other specialty, the “Fire on You,” which combined three kinds of fish with a trifecta of sauces: spicy mayo, eel sauce, and chili sauce. And in case you’re not deathly full after twelve giant pieces of sushi, you could always order “monkey brain” as an appetizer. No, no monkey in it, silly: it’s a big crunchy ball filled with crab salad and coated in avocado.
The inspiration
To prevent this restaurant from burning a flame-broiled hole in my wallet, I set about to make my own sushi for a change. Granted, I wasn’t making the three-fish, three-sauce masterpieces I’d eaten out, but it wasn’t as hard as I thought either.
Brave as I am at trying food, I’m really not ready to experiment with raw fish, so lucky for all the vegetarians and vegans out there, this recipe is for you! What’s more, there are plenty of exciting variations on a theme, all without requiring a pilgrimage for sushi-grade meats. Here’s just a few of the many additions you can add to your roll that don’t include fish:
- Avocado
- Fried tofu sticks
- Peanuts (sounds weird, but it’s really good with both sweet and salty flavors)
- Cucumber
- Carrots (this kiwi slicer makes for the easiest julienne ever)
- Bell peppers
- Sweet potatoes coated in honey and soy sauce
- Roasted mushrooms
- Microgreens
- Scrambled eggs
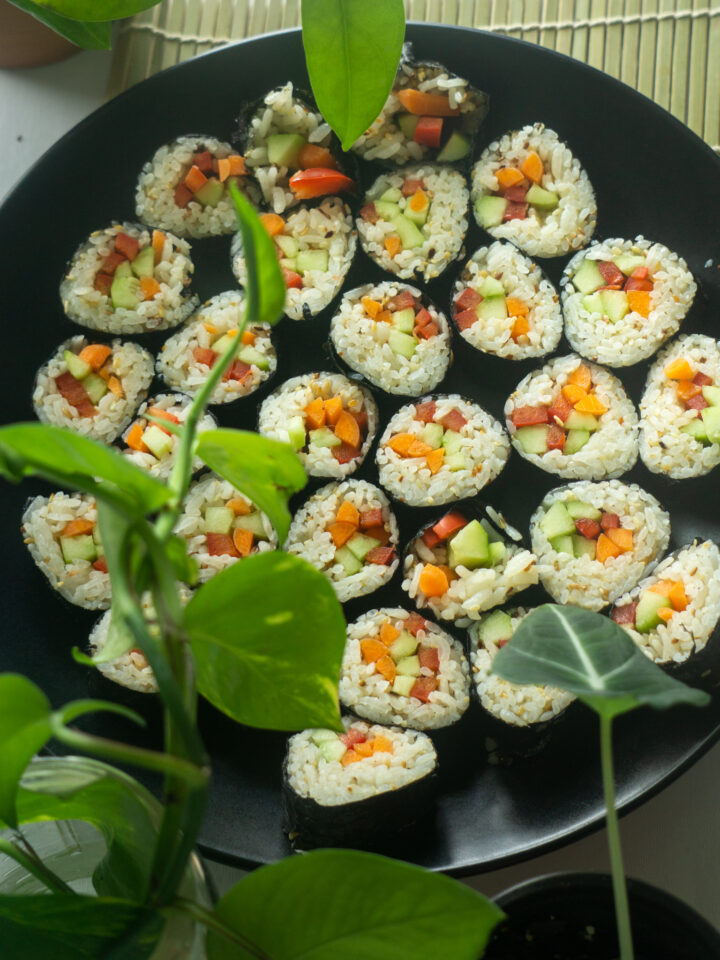
Today, I chose to make my roll with cucumber, red peppers, and carrots, as a way to package water-based vegetables into an afternoon snack.
The equipment
Have you ever found yourself scraping burnt rice off the bottom of a pan? Have you ever found yourself peeling said rice off the bottom and popping it right into your mouth? Do you live for this crunchy rice and fight over it with your boyfriend? I am guilty of all of the above. And as much as I love these hallmarks of stovetop rice making, sushi is not the time for such antics. If you’re going to make sushi rice, opt for a rice maker. Perhaps the most common one these days is the Instant Pot, but I use my old Zojirushi from college. And since this Benz of rice cooking has a lifetime warranty, it’ll still be singing “Twinkle Twinkle” at me until the day I die…
Making sushi rice
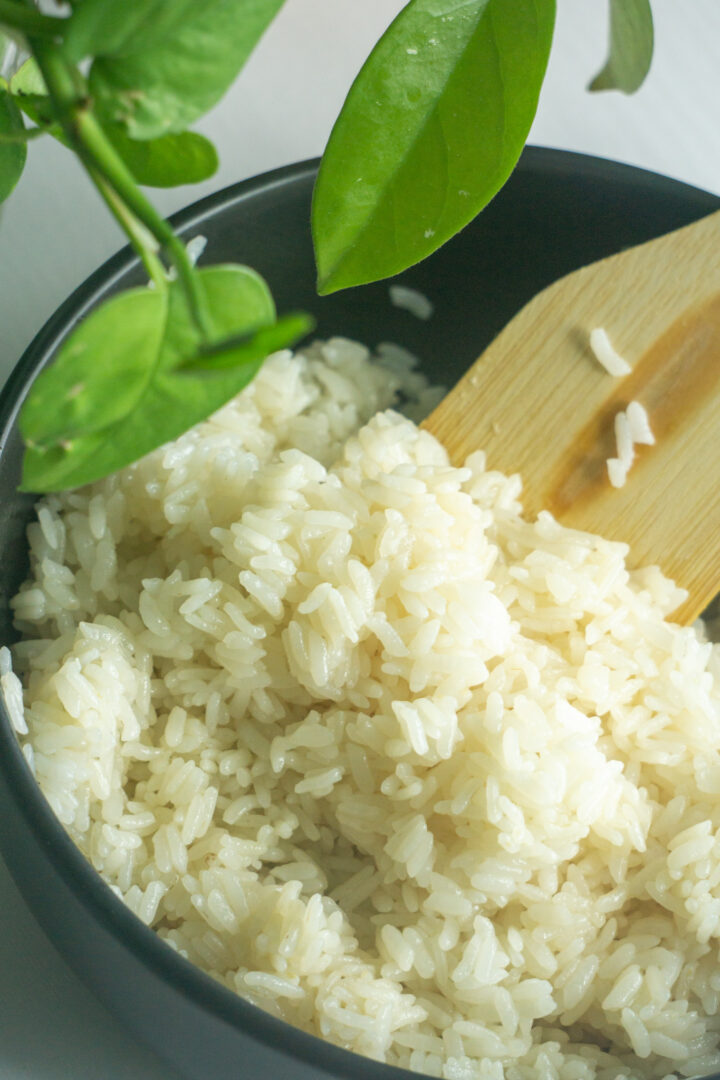
My method for the Zojirushi is just to fill my rice maker with ¾ cups sticky rice, add water to the “sushi rice 1 cup” line, and let it do it’s thing. But if you’re going to make rice any other way, consult Just One Cookbook, which provides a thorough, detailed guide to making sushi rice.
After your rice cooks, it’s essential to mix it with the components that will take it from sushi rice to sushi rice. Ideally, you can purchase “seasoned rice vinegar,” and then just mix in 3 tablespoons with your finished rice. Instead, I mixed 3 tablespoons of rice vinegar with 1 tablespoon sugar and ½ teaspoon salt. When the solids dissolved, I added that mixture to my cooked sushi rice and mixed it up. I also added toasted sesame seeds to give it a nutty flavor.
The one challenge–just try not to snack on all your rice before using it!
Assembly
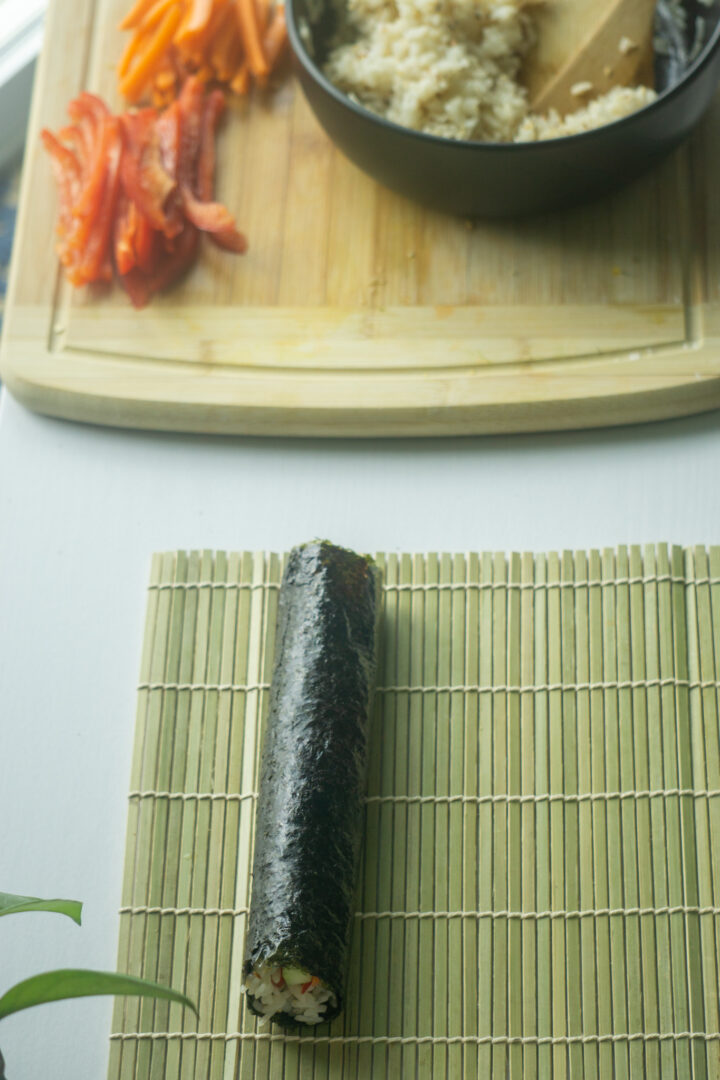
Above, you see a picture of a sushi roll that’s about to nail it. It will be perfectly sized, with the perfect ratio of rice to vegetables to nori seaweed. If you look up images for “sushi burrito,” you will find a wall of delicious looking fare, but I assure you, that is NOT what we’re doing here. Start small! Here’s some instructions for assembly that won’t lead to a sushi blowout.
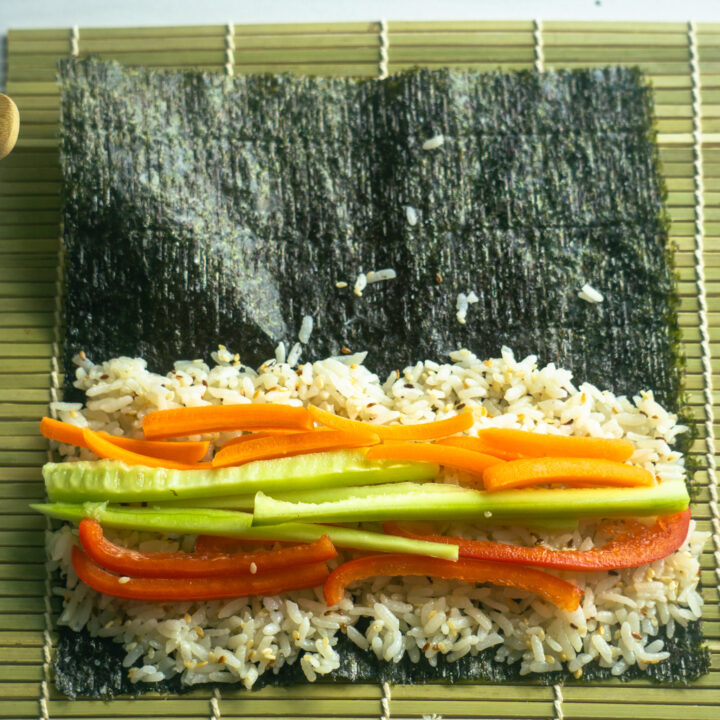
- Lay out a sheet of nori seaweed on a bamboo sushi rolling mat. You could also use a kitchen towel lined with plastic wrap if you don’t have a mat.
- Take a small bamboo knife or spatula and spread rice in a thin layer across the near half of your seaweed.
- Lay your vegetables or other fillings in the middle of your rice, and don’t go crazy.
- Starting from the rice-y end, roll your sushi all the way up. When you get to the very end of your seaweed, brush that seaweed with water, and then press it gently into the seaweed of the roll. This process should be like licking and sealing an envelope.
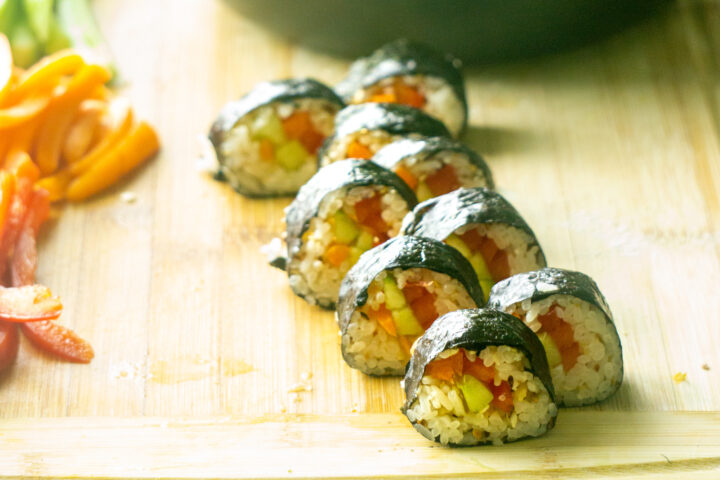
- Transfer the sushi to a cutting board, seam-side down. Dip a large, sharp knife in water and cut your sushi into pieces, about half an inch thick. You may have to wipe and then re-dip your knife into water at specific intervals. This will help prevent the seaweed from ripping.
A few notes
I’m certainly not a sushi expert, so I look to those who are for guidance. I love browsing all the different type of sushi rolls on Just One Cookbook and I appreciate the guidance on sushi etiquette from Just Hungry–a blog I’ve been following for over a decade!
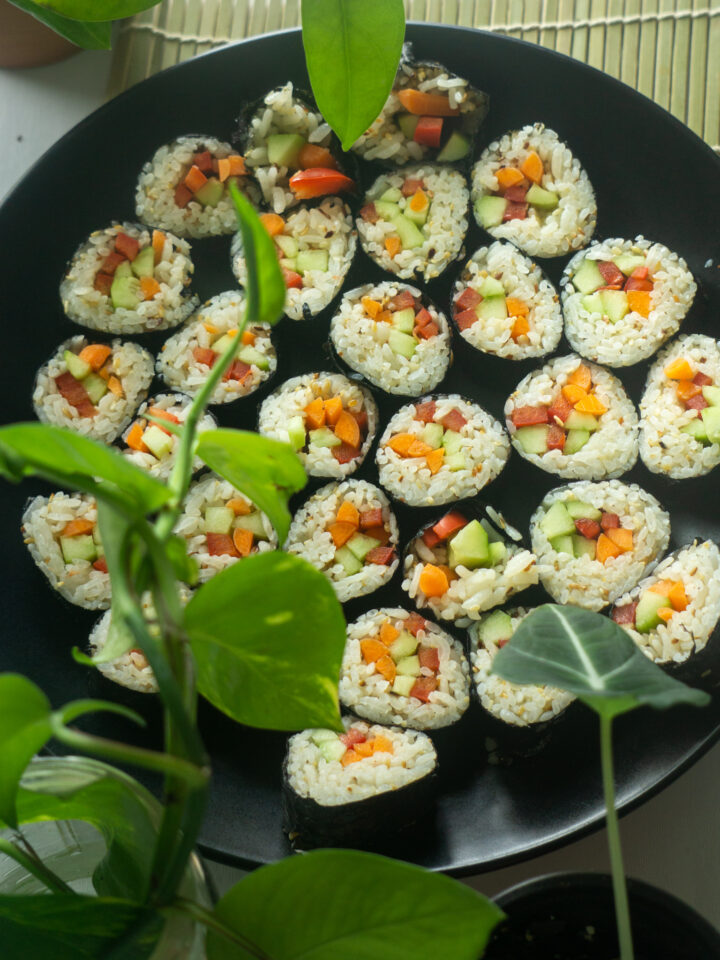
After writing this post, I may just be in the mood to make some sushi tonight. If you join me, let me know how it goes!
Print
Everyday Vegetarian Sushi
- Prep Time: 40 minutes
- Cook Time: 30 minutes
- Total Time: 40 minutes
- Yield: 2 servings 1x
- Category: sushi
- Cuisine: Japanese
- Diet: Vegan
Description
Instructions for creating an easy sushi roll filled with sticky rice and juicy vegetables, all wrapped in nori seaweed.
Ingredients
For the Rice:
- ¾ cup sushi rice
- 3 tablespoons rice vinegar
- 1 tablespoon sugar
- ½ teaspoon salt
- sesame seeds, lightly toasted
For the Sushi:
- ½ red bell pepper, cut into thin strips
- 1–2 carrots, julienned into small strips
- 1 cucumber, halved, seeds removed, and thinly sliced
- plenty of nori seaweed for wrapping
Instructions
For the Rice:
- Rinse rice until the water runs clean. Add rice to a rice maker and cook it according to the rice maker’s instructions. Or, use an Instant Pot to cook your rice. If all else fails, cook it on the stovetop.
- While the rice is cooking, in a small bowl stir the rest of the rice until the solids dissolve. You may want to heat this mixture in the microwave or on the stovetop if it doesn’t dissolve all the way.
- When the rice is done, transfer it to a bowl and mix in the vinegar mixture and the sesame seeds. Cover the rice with a damp towel until ready to use.
Assembling the Sushi:
- Lay a sheet of nori onto a bamboo mat. You can also use a kitchen towel covered with plastic wrap if you don’t have a bamboo mat. Spread your rice over the close half of the nori. Top the rice with vegetables.
- Starting with the end closest to you, use the mat to roll the sushi all the way up.
- When you get to the end, brush the last bit of nori with water, and press it into the roll to seal it.
- Place the roll on a cutting board seam-side down. Dip a large, sharp knife in water and cut the sushi width-wise into pieces. Be sure to wipe and re-wet the knife when necessary.
- Repeat the process until all the vegetables and rice have been used.
- Serve the sushi with soy sauce, wasabi, and pickled ginger.
Notes
You can also use other vegetables, such as those listed above.
Keywords: sushi, sushi roll, healthy, vegetarian, vegan, snack, Japanese food, vegetables, nori, soy sauce


